Word Templates Power Automate - Repeating tables
- Matt Collins-Jones

- Feb 22, 2021
- 3 min read

We know I love Word Templates, I've mentioned it enough. Using repeating tables with the Power Automate Word connector functions slightly differently than repeating tables in D365 Word templates. While D365 Word Templates just have a special control you add to them, for the Power Automate connector, we need to collect the data we need and put that into an array to be used. Let’s take a look at this.
Let’s setup the Word Template first. Open your Word template and create a table with a few columns and a couple of rows. The top row, make your header row.
In the cells that you want to add data from Power Automate, insert Plain Text Controls into each cell and give each a unique Title and Tag.

Then select the entire row of the table and then add the repeating control to the row from the menu at the top.

Add a unique name for the title and tag, but this will be used for the table.

Save your word document and upload it to your OneDrive for Business or SharePoint, in my Flow I’m using OneDrive for Business.
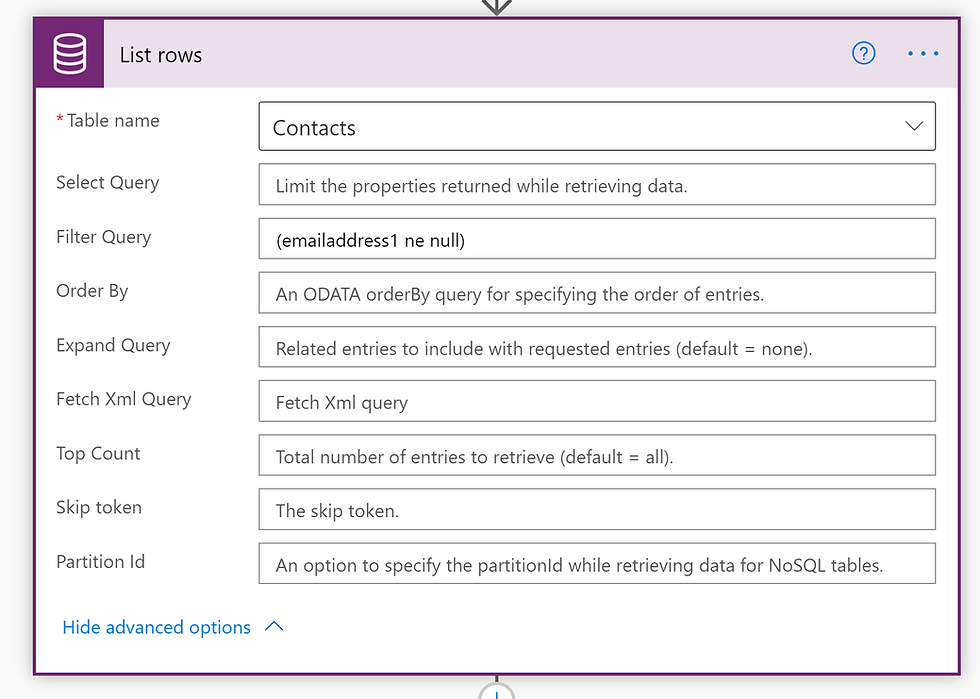
In your flow you need an array to populate the repeating table, so I’ve got a list rows here for the CDS Current Environment Connector for Contacts. This will give us all the fields for the contacts and we need to only get the 3 fields we want into an array of it’s own. Create an Initialize Variable Action give it a Name, set the Type to Array and leave the value blank.


After the List rows action, add a Append to array variable step and create the array that you want to populate. In my example, I need FirstName, LastName and Email so my array looks like this:
{
"FirstName":"",
"LastName":"",
"Email":""
}
For the values of each parameter, add the corresponding field from the List Rows step. This will make Power Automate put an apply to each around the append to array variable and should look something like this.

Next, Add the Populate a Microsoft Word Template step, select your template from OneDrive or SharePoint. Once you select the template, the fields you can populate on the template will pop up. This will include the table you can populate with a switch to array control. If you just fill in the fields shown, it will only populate a single row, it’s the switch to array control that gives us the ability to create multiple rows. This is because the array can contain multiple objects and by using the array control, it can vary in length, rather than a single value or values for a row.

Note: This connector can be a little flakey, as you can see in the image above, it's only got 2 inputs, but I defined 3 in the Word template. All 3 work, so it's just they way it displays in Power Automate can be temperamental.
Switch the array input control and put the array variable into this field.

Now we need to create the file. Add a OneDrive for Business step for Create file. Populate a library (OneDrive or SharePoint) and a location that you want the file to be created in. Give it a name with extension of .docx and in the file content field, choose the dynamic content from the Word template step.

That’s it, save and run your flow.


Ciao for now!


Comments