Word Templates - Introduction

Word Templates are one of my favourite unsung heroes of Dynamics 365. They are great, they allow you to create quick and easy templates which can be used by individuals or by all users in the system. They are essentially the successor to mail merges and work in a similar way. Anyone familiar with these or creating them in CRM 4 or 2011, the process will be similar but luckily...a lot better.
This feature was included in Dynamics from a few versions ago, I believe around CRM 2015, but I don’t hear many people talk about them. I wanted to write a series of posts showing people how to create them, how to make them functional and looking good and maybe a few cool features I’ve found. Let’s jump in!
Open up your Dynamics system and go to...well, nearly any entity inside Dynamics, select a record and look at the command bar.

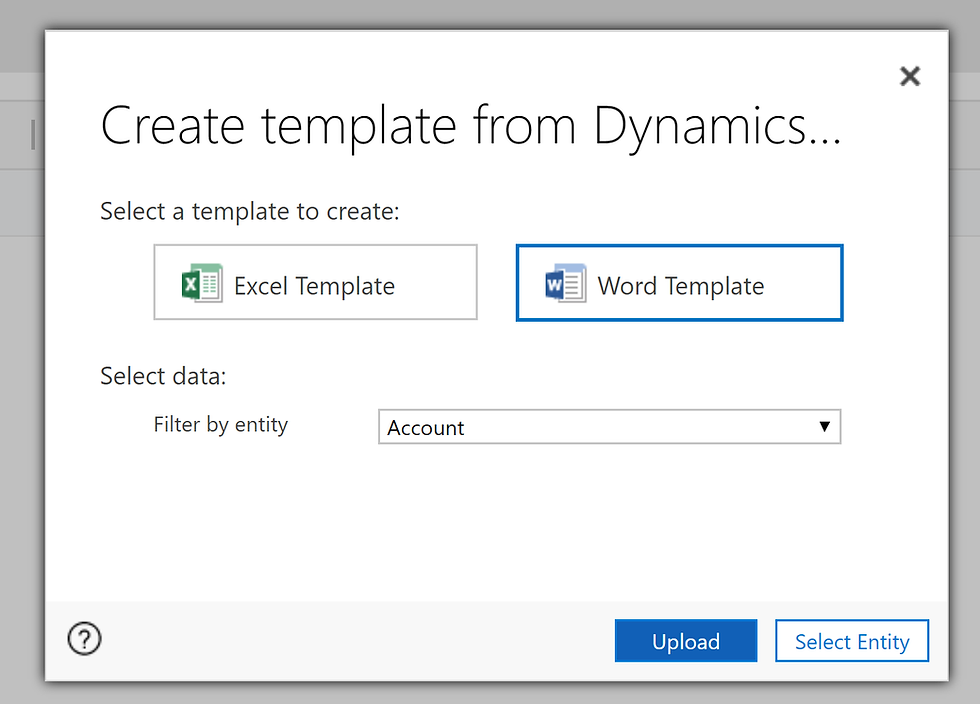
The command bar will show the list of actions you can do inside Dynamics but sometimes Word Templates are tucked away inside the ellipsis, so if you don't see it, click the ellipses and choose Word Templates. From the next dialog you can see what you can do with Word Templates.


Here is where you are faced with your first dilema, you need to choose the entity you will be running the Word Template from and the relationships, from this entity, to choose. Now you have two options, my personal option is to choose all relationships, the other option is to only choose the relationships you require for this word document.
The reason I choose to take all relationships (is because I’m lazy) is not because I’m lazy but because its far simpler than the alternative. Granted, most of the time you need only one or two relationships, but if you have as many iterations of reports as I have, you will just choose all eventually as it just becomes more effort to not do this.
Click download and you will have the Word template saved to your computer. Open up the document and enable it for editing in the ribbon at the top. At this point, we need to make some changes to your Word if this is your first time….making a Word template you filthy minded people.
Go to File -> Options -> Customise Ribbon and select the checkbox for Developer and click OK. You should now have a new tab in your Ribbon in word.

Click over onto the Developer tab and you will now see a XML mapping button. Clicking this button will produce a pane on the right hand side with a drop down. The drop down allows you to choose the XML you want to edit, the one you want to choose begins with “urn:microsoft-crm/document-template/”. By selecting this, you will see all the relationships and fields appear in this panel.

The first collapsed tree of fields under “DocumentTemplate” is the entity you started the document template from and the other relationships you chose at the start to bring across will be below all currently tabbed up. These relationships have their names from their relationships with the original entity, for example, if you are creating a Word template on Accounts and want to add a field from a Contact, the relationship name is contact_customer_account, this is 1:N or one to many relationship. However, there is another relationship which is an N:1 relationship called account_primary_contact and this would look at the Accounts Primary Contact and not all contacts.

This is an important part of Word templates, to understand which piece of data you want from the right relationships can give you either the data you want, no data at all or just jibberish. When you begin your Word template, you start from an initial entity and choose the relationships, however, this means you can only get fields/data which are related to your starting entity. I hinted at this earlier on.
Next we want to choose our fields, looking at the relationship you want to get the fields from, you can select a location in the body of the document and then right click on the field, Insert Content Control and choose “Plain Text”.
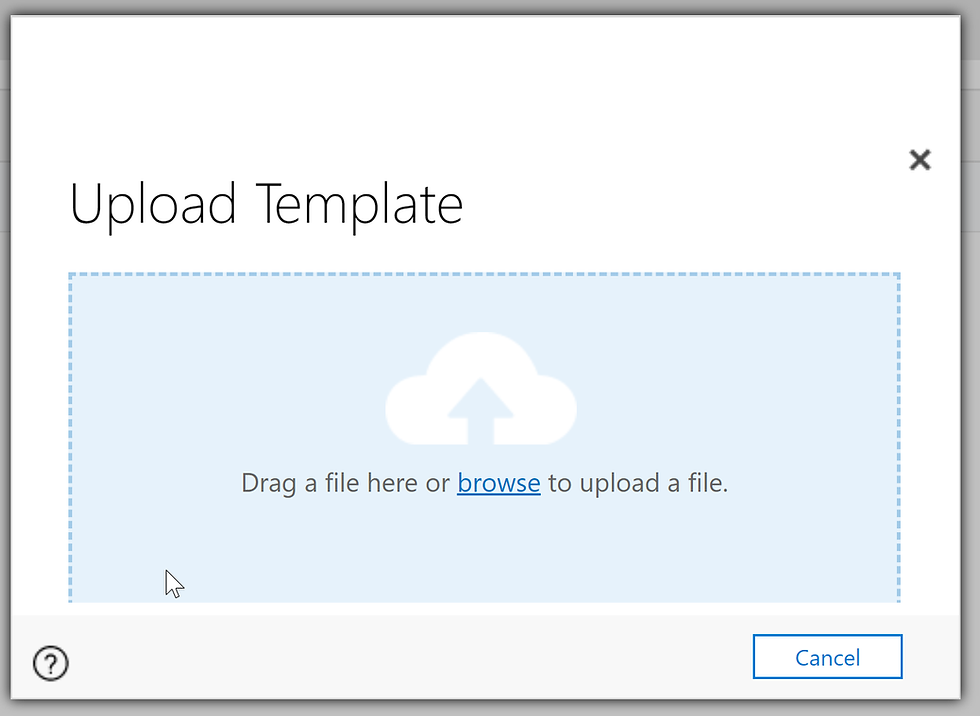
You can insert as many fields as you like into a document and build some context around it. Once you are happy with the template you can upload it to D365 in one of two ways, as a personal template or as a global template. To upload as a person template, go to any entity in the system where you can produce a Word Template, press Word template -> Create Word template -> Upload and upload it to D365.

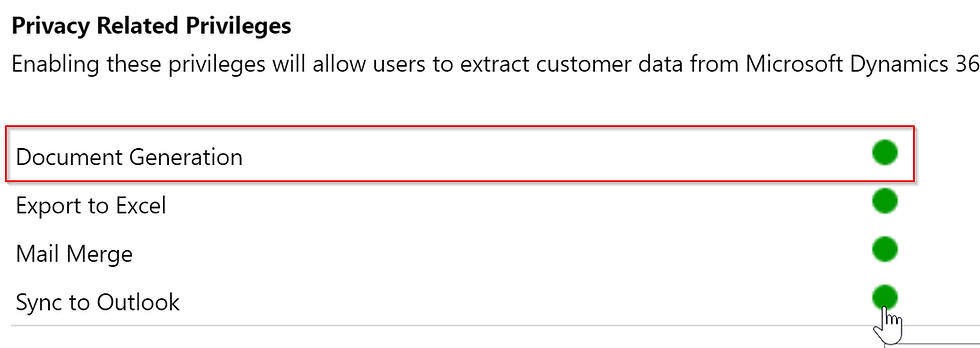
If you want this template to be available to everyone in your organisation, and if you have the security role, you need to upload it slightly differently. The Security role, in case you were wonder, is under Business Management and Document Generation. You need to set this to Organisational to allow users to upload their templates for the whole organisation to use.

Once the users have this role, they can go to Settings -> Templates -> Document Templates and choose “Upload Template”.


Let's go through a quick example. We will create a Word template from Contact and we will create a letter. We select the Word template and we only need 1 relationship for this example so we will take the Account contact_customer_accounts, download the template and open it up. Open up the XML mapping pane.
Create the basics of your letter and insert some fields, Full name, telephone1 whatever you want. Then expand the relationship to Account and insert the address fields from there. So we are taking data from 2 different entities to create this letter.

And here is the finished product

This is just one example of what you can do with Word Templates and in my upcoming posts I’ll show some more advanced features.
Ciao for now!


